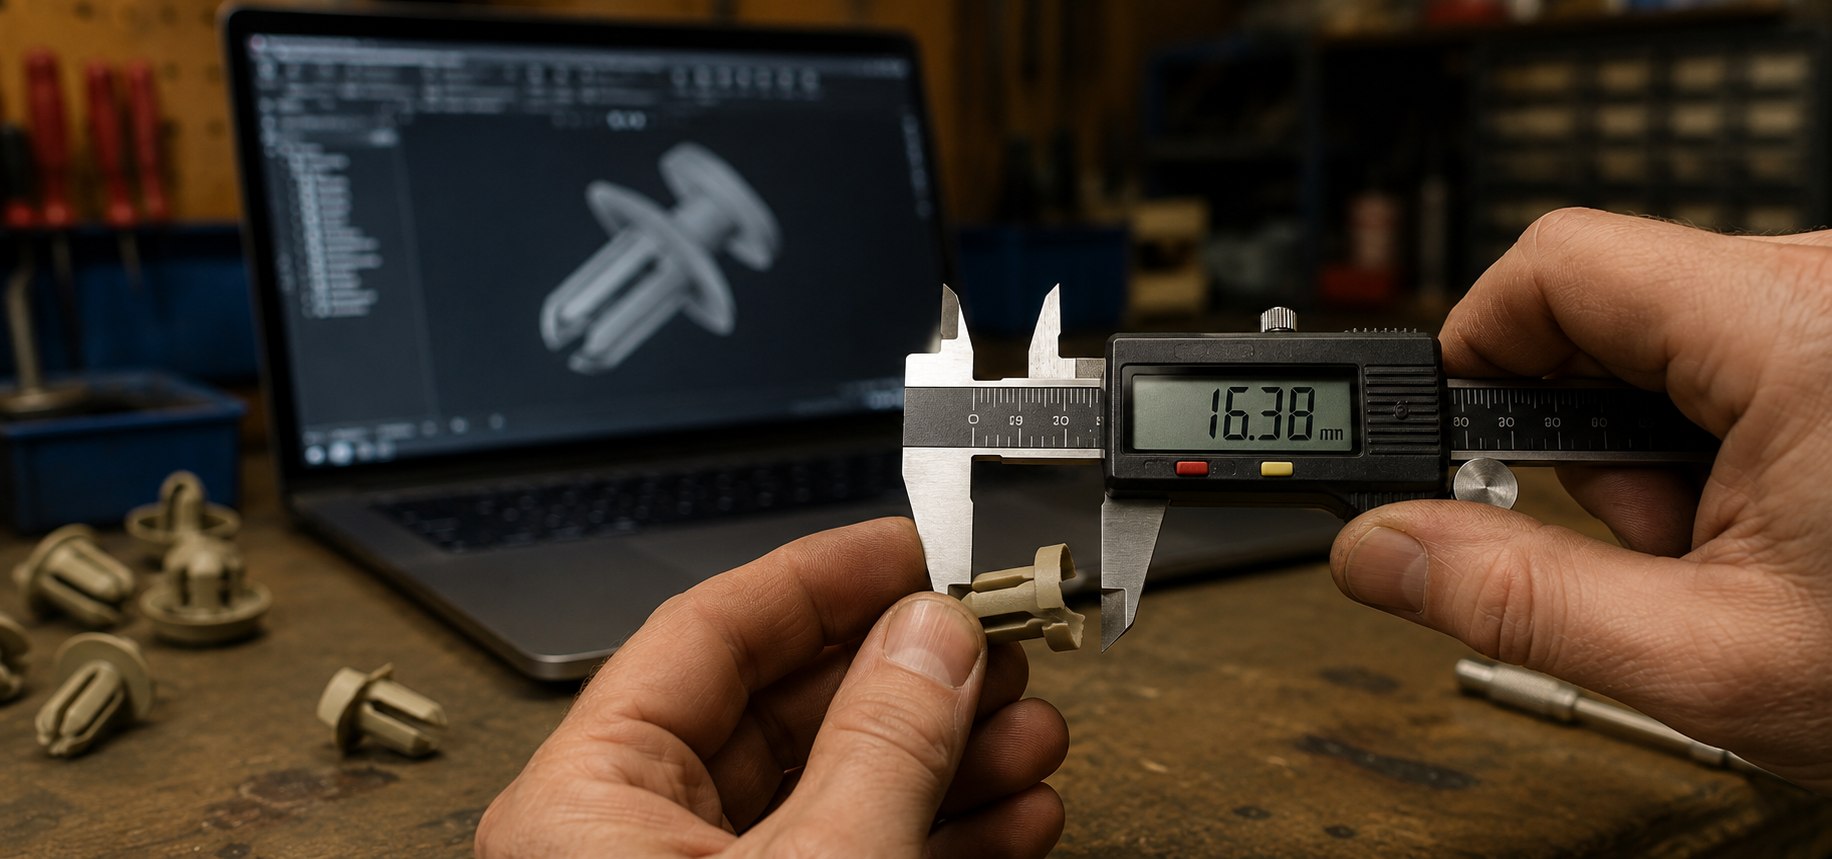
From your first message to a finished part in the mail — here's exactly what happens, and what we need from you.
Use the contact form or call us. Include the vehicle's make, model, and year, plus photos of the part — ideally with a ruler or tape measure in frame. If the original is broken, keep the pieces: even fragments help. You can also mail us the original part for exact measurement.
We model the part in CAD and recommend a material based on where it lives in the car. You get a fixed quote with a time estimate before anything prints. If you already have a CAD file or 3D scan, we can quote a print-only job.
For fitment-critical parts we print a fit-check article first. You (or your shop) confirm it clips, mounts, and sits correctly on the actual vehicle. If it doesn't, we revise the model and print again — included in the quote.
The production part is printed in the agreed material, then finished to spec: sanded, primed, paint-ready, or textured to sit alongside factory trim.
We pack the part and ship it anywhere in the US. Your CAD model stays on file, so reorders skip straight to printing.
Mail it to us (broken is fine). We measure it directly and return it with your new part.
Clear photos from several angles with a ruler in frame, plus key dimensions and mounting hole spacing.
STEP, STL, or a 3D scan. We check printability, suggest a material, and quote print-only.